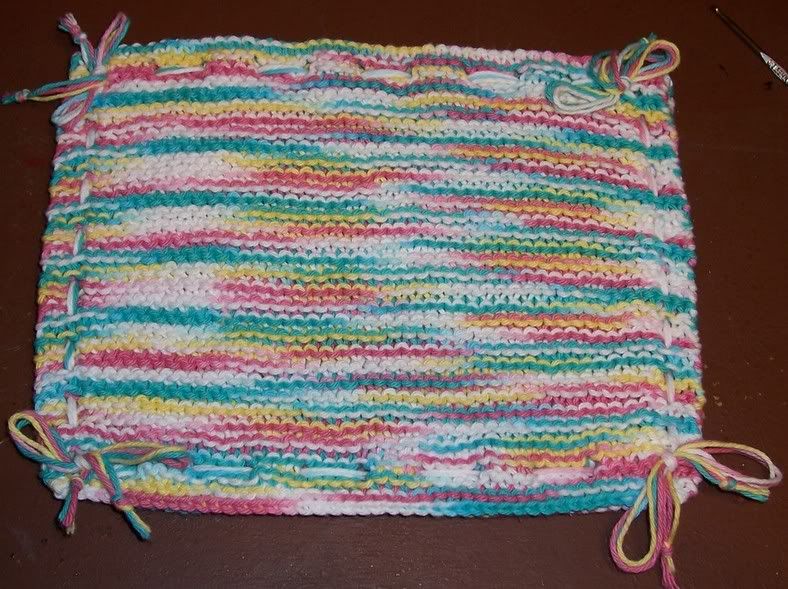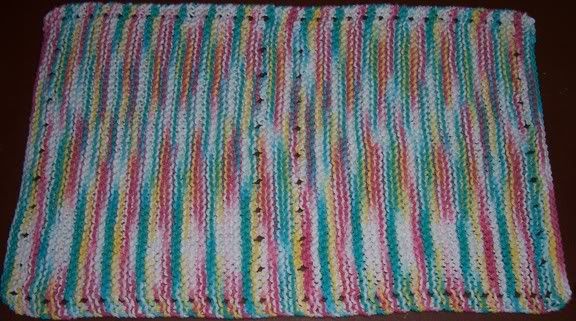
This potholder is knitted (or crocheted) flat, and then doubled over to make a nice, thick hotpad. It's a simple pattern that works up fast. Done in holiday colors, it would make a nice addition to a holiday serving table.
**As usual, this pattern is copyrighted by me, and is provided for your personal use and enjoyment only. Feel free to print the pattern for your personal use but please do not copy it to another website, or publish/sell the pattern as your own work, or distribute printed copies. Feel free to post links to this pattern to your website or group. Yadda Yadda. You know the routine.**
**If you like my blog and patterns, please vote for me on the Crochet and Hook list. Vote by clicking the blue box towards the top in the left margin of my blog. Thank you so much!! Let me know what you think of my patterns -- just click the email link (also in the left hand margin).**
KNIT VERSION:
Supplies:
2 skeins 100% Cotton yarn
Sz 8 knitting needles
crochet hook or yarn needle for weaving ends
Cast on 46
R1: (Wrong Side) knit across
R2: (Right Side): knit across
R3: (WS) knit across
R4:(RS) *knit 2,YO, K2Tog*, Repeat * to * to last 6 stitches, knit 2, K2Tog, YO, knit 2 (this row will form 11 holes evenly across)
R5-7: knit across
R8:(RS)Knit 2, YO, K2TOG, knit across to last four stitches, K2TOG, YO, knit 2
Repeat Rows 5-8 13 times
Repeat Row 4 (RS)
Knit next 9 rows
Repeat Row 4 (RS)
Repeat Rows 5-8 13 times
Repeat Row 4
Knit next 3 rows
Bind Off (RS)
Weave in ends.
This is what the potholder looks like at this point.

Fold the potholder in half with wrong side together, and line up holes for weaving through ties.
For the ties, I just used 3 strands of the cotton I used for the potholder. (You could also use thin I-cord, or ribbon to get a different look.) Cut 12 strands the same length for weaving through holes, leaving about five inches on each side for the bows. Tie The 3 strands together with a small knot. Holding the knotted end, weave the loose ends through the holes at the top of the potholder, starting in the upper left hand corner and ending one hole short of the top right hand corner. (A crochet hook is a great tool to use for weaving the ties through the holes) Tie the loose ends into a knot. Continue with the other 3 sides in the same fashion. After all weaving is done, tie the ends into bows.
Voila! :)
**The crochet version has not yet been pattern tested, and I don't have a photo yet. Pictures will be coming soon....and if you find any errors, please let me know!**
CROCHET VERSION:
H hook
100% cotton yarn
CH 46
Row 1: Hdc in 2nd ch from hook and across to end, turn, ch 1
Row 2: Hdc across, turn, ch 1 (45 stitches)
Row 3: Hdc in first 2 stitches, ch 1, sk next st, *Hdc in nxt 2 st, ch 1, sk next st, hdc in next 2 st* Repeat across. (15 spaces)
Row 4: Hdc in 2 stitches, ch 1, sk next hdc, hdc across to last 3 st, ch 1 sk next st, hdc in last 2 st, turn, ch 1
Row 5: Hdc across, turn, ch 1
Repeat rows 4-5 until potholder is desired length and there are an uneven number of holes up the side
Repeat Row 3
Hdc across for 2 rows
Finish off and weave in ends
Ties will be made from 3 strands of crochet cotton held together. Cut them long enough so that about 5 inches is left to tie bows. Tie 3 strands together with a small knot, Weave loose ends through holes starting at top left corner and ending in top right hand corner. Tie loose ends together with a small knot. Start next 3-strand tie in the same corner space. Continue in the same manner for remaining sides. Tie ends into bows at all 4 corners.
I do agree with all the ideas you've offered to your post. They're very convincing and can certainly work.
ReplyDeleteStill, the posts are too quick for newbies. May just you please prolong them a little from next time?
Thanks for the post.
Have a look at my homepage best registry cleaner for windows 7