Or, have you been looking for a distinctive bag to take to the gym with you??
Then check out my newest pattern!
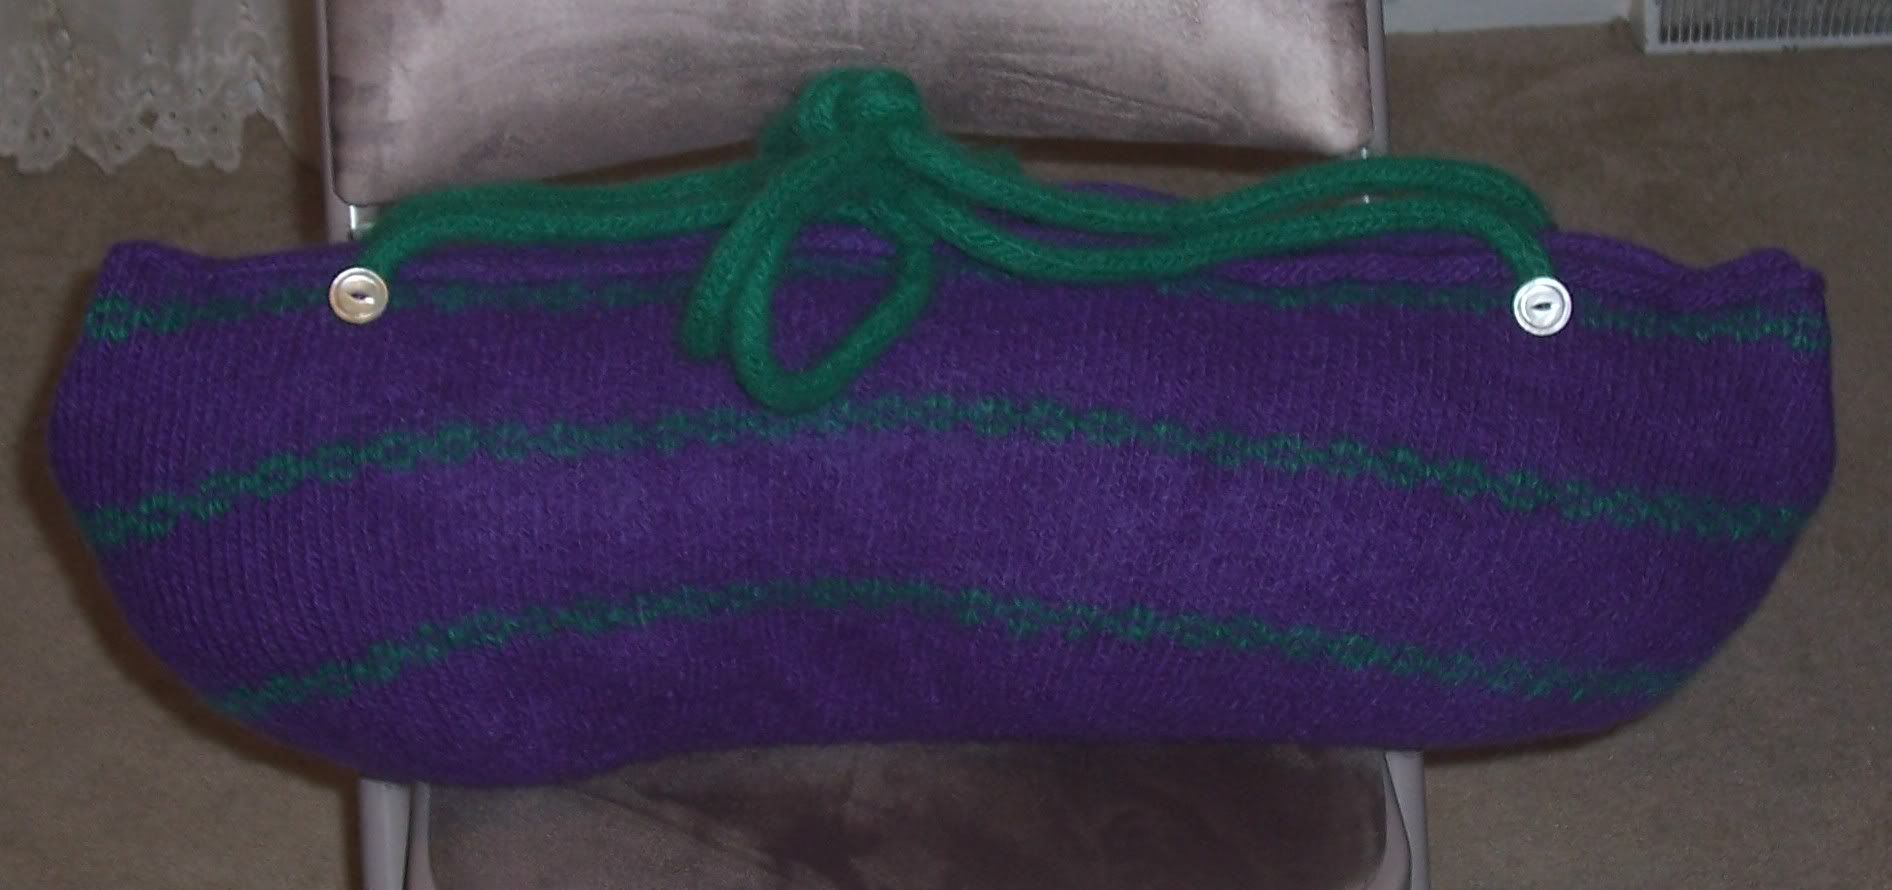
The felted gym bag! Or, the knitting bag that can handle any size needles! :)
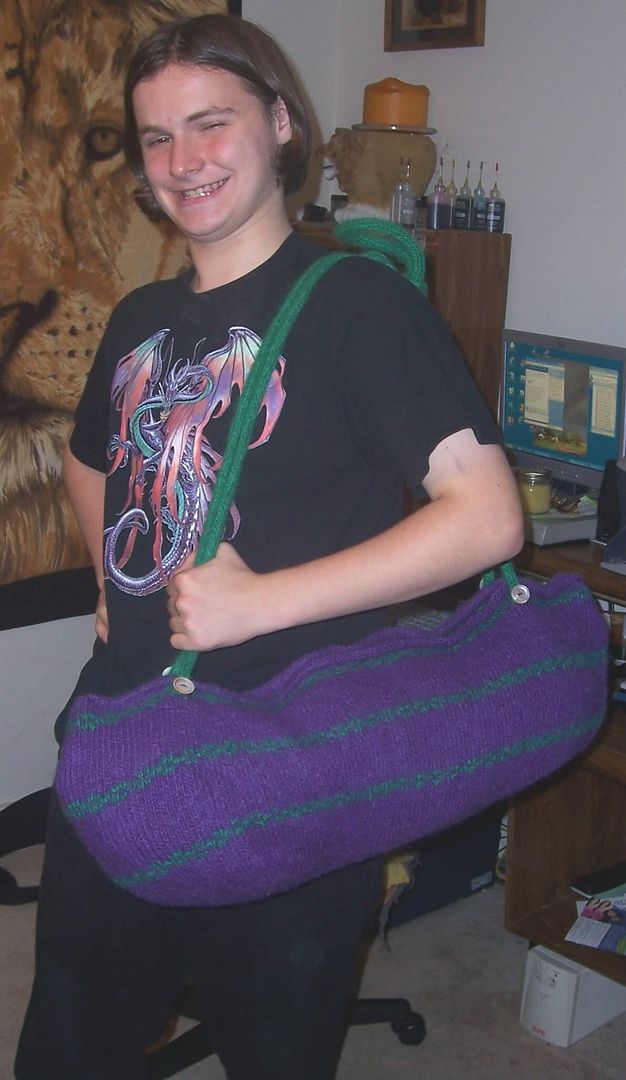
My son was nice enough to model the bag for you!
**The usual disclaimer: This pattern is my original, copyrighted work, and is meant for your personal use and enjoyment. Please do not distribute or sell copies of this pattern or present it as your own design or Guido the knitting design enforcer shall visit you in the night. :) Please don't post the pattern itself to other websites, but feel free to link to this page. :) **
If you like this pattern, or the other original patterns posted at my website, please take a moment and vote for my site on the Crochet & Hook List. Just click on the link in the left hand margin of this webpage! Thank you for your support!!
Here's the pattern!
Supplies:
2 contrasting colors of 100% wool – feltable
1 22 to 24” zipper in coordinating color
Coordinating sewing thread and needle
4 large buttons
Size 10 24” or 36" circular knitting needles
The pictured bag was made using Lamb's Pride Wool in Amethyst, and Lopi wool in Emerald. It is best to use the same brand wool for both colors to ensure comparable shrinkage in felting. But, you can use other brands if you do a felted swatch. Lopi and Lamb's pride felted at very close to the same ratio when I swatched. The bag stripes are only 3 rows wide and spaced 6 inches apart, so some difference in shrinkage is acceptable.
Pattern:
Using Color 1 (main color), CO 60
Work in garter stitch using Color 1 until piece measures 5 inches. You will be knitting flat (rather than in the round).
Pick up and knit stitches around – example: I picked up 15 on side, 60 across bottom, 15 up other side. 150 stitches. Now you will be knitting in the round. Place stitch marker on first stitch to mark beginning of rounds.
**NOTE: These stitch counts are what I got using the listed yarns and needle size. Your stitch c0unt might vary due to the # of rows or tension differences. On the sides of your 5" starting piece, each 2 rows create a bump in garter stitch. Pick up one stitch at each bump (# of rows/2). That will be the # of stitches you pick up along each side. Mine was 15.....yours might be different. Adjust accordingly. That will make all stitch counts in the pattern come out slightly different. To adjust the Make One instructions in each row, find a low number like 4, 5 or 6 that comes out even when divided into your stitch count after picking up stitches, for row 1, use that # and for each odd row, add 1 to that first #.)
Knit each round in garter stitch until sides measure 4 inches.
Row 1: *K5, make one* repeat all the way around. 180 stitches
Row 2 (and each even # row through row 14): Garter stitch around.
Row 3: *K6, make one* repeat all the way around. 210 stitches.
Row 5: *K7, make one* repeat. 240 stitches.
Row 7: *K8,make one* repeat. 270 stitches
Row 9: *K9, make one* repeat. 300 stitches
Row 11: *K10, make one* repeat. 330 stitches
Row 13: *K11, make one* repeat. 360 stitches
Row 14: garter stitch around.
Row 15: At beginning of round, tie on color 2 and place stitch marker. Knit 2 stitches using color 1. Carry unused color in back. Pick up color 2, knit next 2 stitches using color 2. Drop color 2, pick up Color 1. Repeat alternating colors all the way around. **When carrying unused color along back of work being careful to pull it close enough to not have kinks or loops, but not tight enough to pucker.**
Rows 16 and 17: Repeat row 15 two more times, starting each new row with the alternate color. Row 16 will start with color 2. Row 17 will start with color 1. This will create a checkerboard type effect.
At end of Row 17, break off color 2 leaving a 5 inch tail to weave in.
Continue with color 1 in garter stitch for another 6 inches. Then repeat rows 15-17.
Continue with color 1 as before, for another 6 inches. Then repeat rows 15-17 again.
Continue garter stitch with color 1 until bag measures about 30 inches in height. Bind Off. Weave in ends.
Using either Color 1 or Color 2 , make two 6 foot sections of I-cord. Do not attach until after felting.
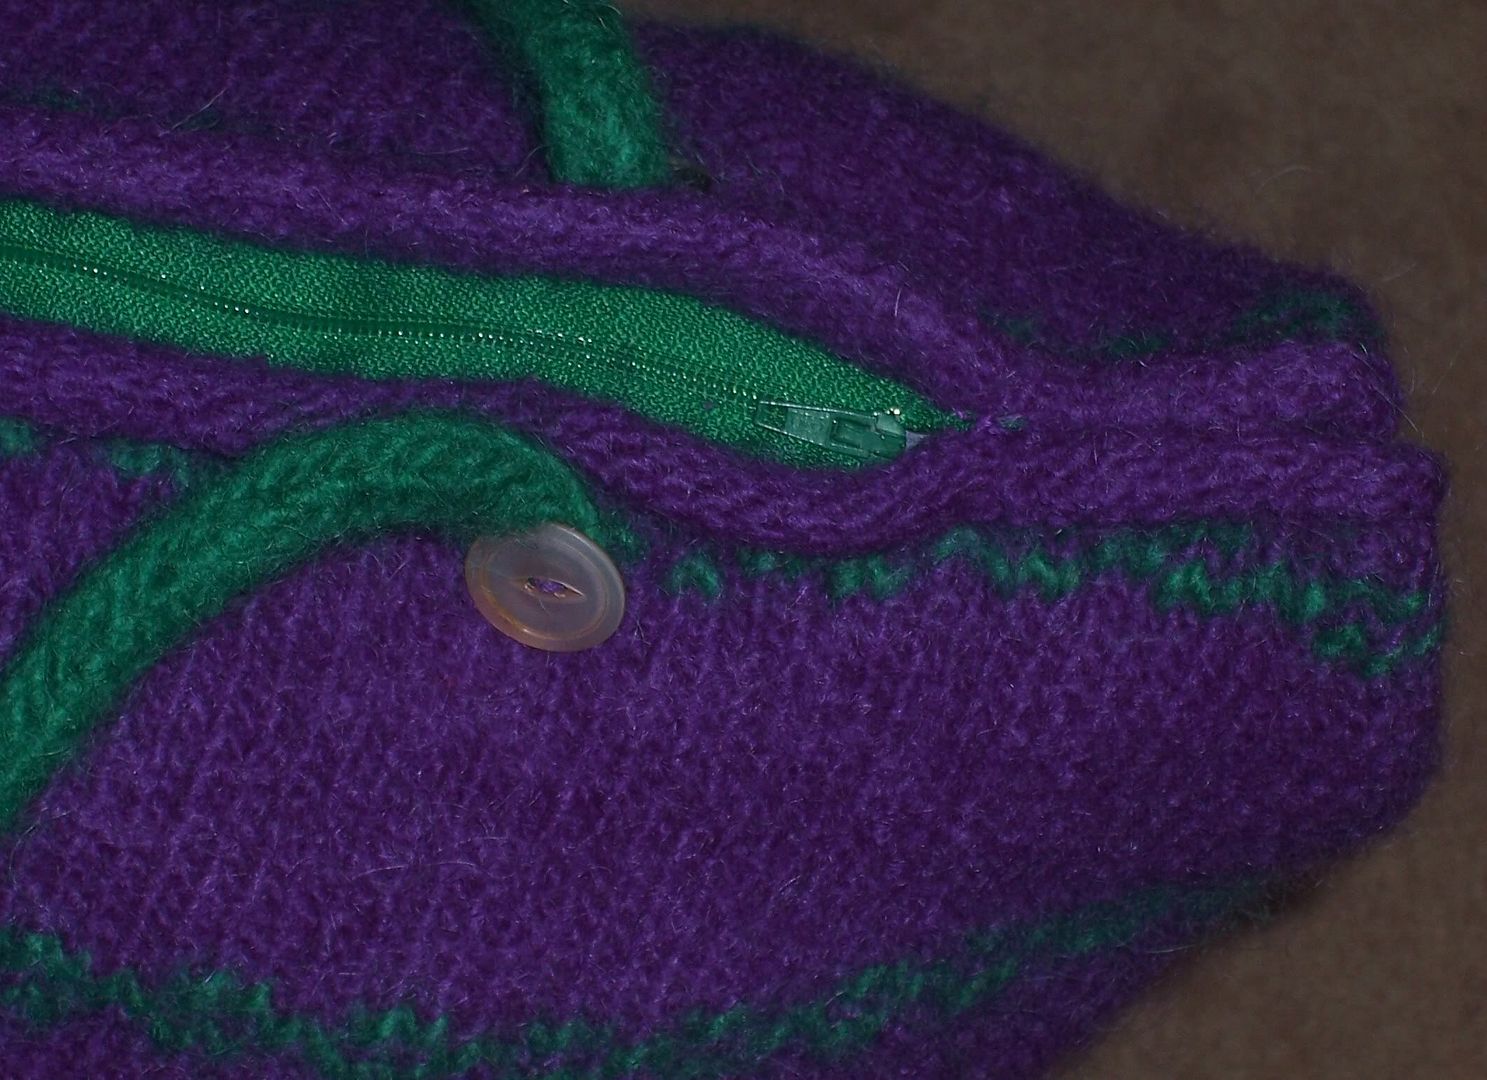
Felt bag and I-cord. Let dry. Sew in zipper and attach handles. Sew buttons where each end of both handles attach to the bag.
Most likely, the bag opening will be a few inches longer than the zipper. Center the zipper on the opening and sew just below lip on each side. Then sew open space closed by folding in excess length in towards zipper end like this:
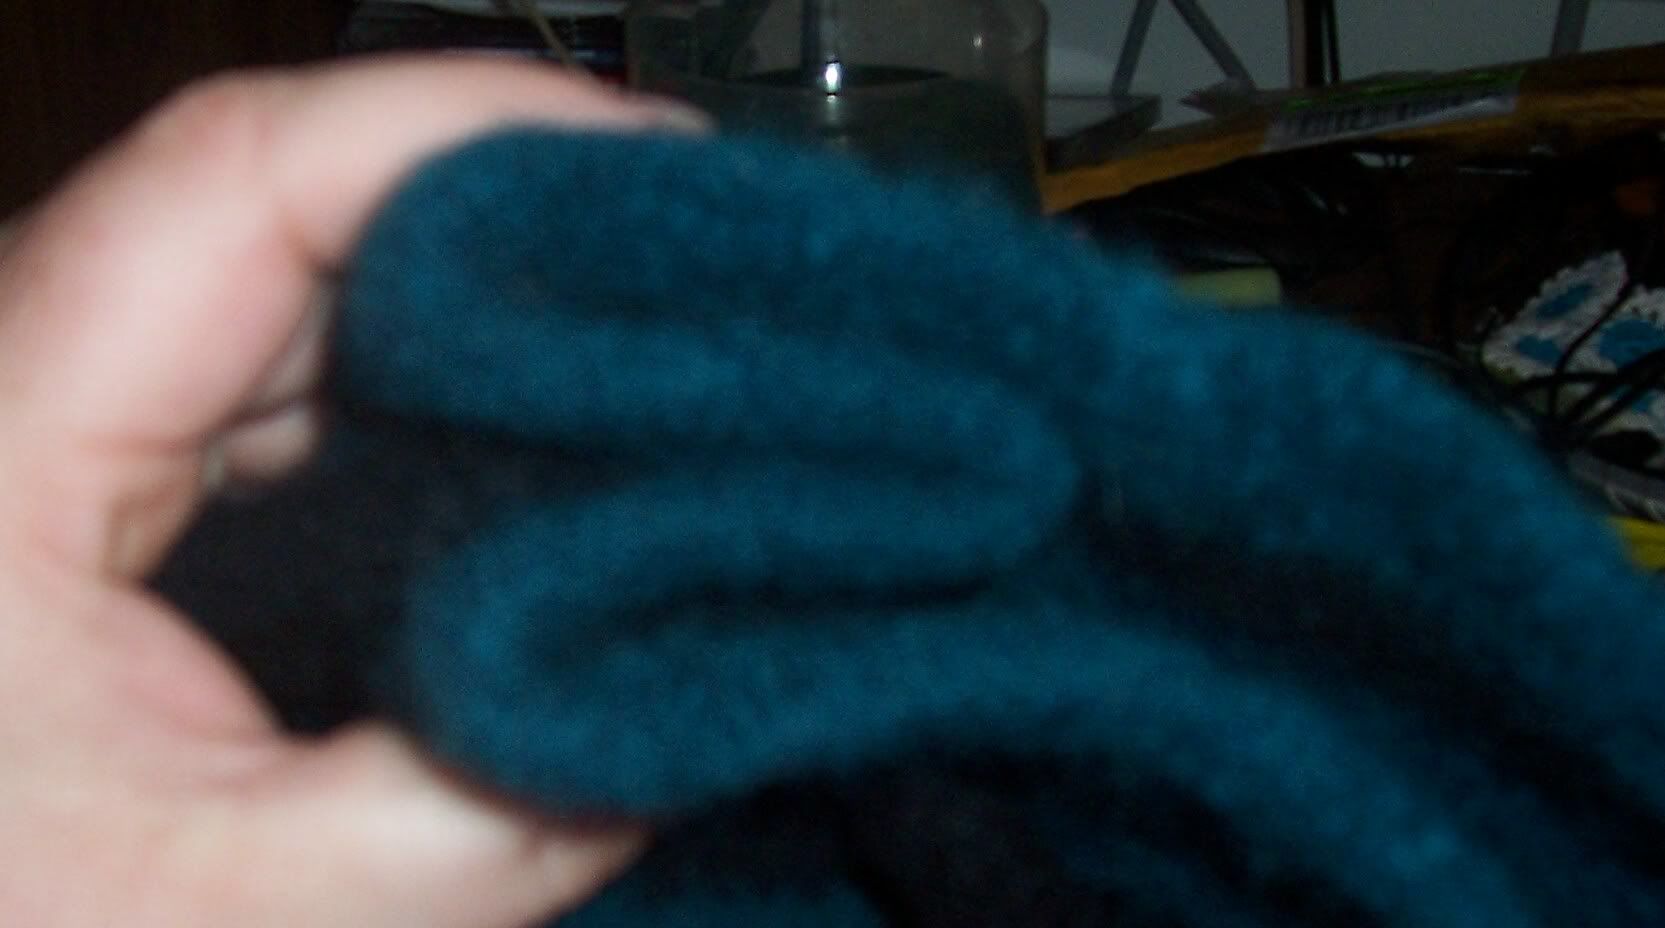
The tip of the fold should touch the end of the zipper. Secure the two inner edges with thread. Tack the end of the zipper down securely to this inner fold. Then fold outer lip of bag over and secure. See photo. :)
TTFN!!!
When I originally commented I clicked the "Notify me when new
ReplyDeletecomments are added" checkbox and now each time a comment is added I get
three e-mails with the same comment. Is there any way you can
remove people from that service?
Cheers!
Look into my blog post :: Go to my website
My website :: Click here
Sweet blog! I found it while surfing
ReplyDeletearound on Yahoo News. Do you have any suggestions on how to get
listed in Yahoo News? I've been trying for a while but I never seem to get there!
Thanks
Also visit my page; Click here
I enjoy what you guys tend to be up too. Such clever work and reporting!
ReplyDeleteKeep up the
terrific works
guys I've added you guys to
blogroll.
my site :: Go to my website
Hi there just
ReplyDeletewanted to give you a quick heads up. The text in your article
seem to be running off the screen in Ie.
I'm not sure if this is a formatting issue or something to do with
internet browser compatibility but I figured I'd post to let you know.
The design and style look great though! Hope you get
the issue solved soon. Thanks
Review my weblog ... click here
my page - View Here
Hey. I
ReplyDeletewas considering adding a
hyperlink back to your blog since both of our
web sites are centered around the same niche. Would you prefer I link to you using your site address:
http://www.blogger.com/comment.g?blogID=10504345&postID=115061304392664361 or website title: Blogger: Juli's Jots. Please let me know at your earliest convenience. Kudos
Feel free to surf to my blog post ... Go to my website
My web site :: view Here
Today, I went to the beach with my kids. I found a sea shell and gave it to my
ReplyDelete4
year old daughter and said "You can hear the ocean if you put this to your ear." She
put the shell to her ear and screamed. There was a hermit crab inside and it
pinched her ear. She never wants to go back!
LoL I know this is completely off topic but I had to tell someone!
Visit my blog post; My Site
Hi would
ReplyDeleteyou mind sharing which blog platform you're working with? I'm
planning to start my own blog soon but I'm having a
difficult time making a decision between
BlogEngine/Wordpress/B2evolution and Drupal. The reason I ask is because your
design and style seems different then most blogs and I'm looking for
something unique. P.S My apologies
for being off-topic but I had to ask!
Also visit my site My site
my website :: View my web page
I blog frequently and I seriously thank you for your content.
ReplyDeleteThe article has truly peaked my interest. I am going to take a note of your website and keep checking for new details about
once per week. I subscribed to your Feed as
well.
Feel free to surf to my web blog; kliknij