


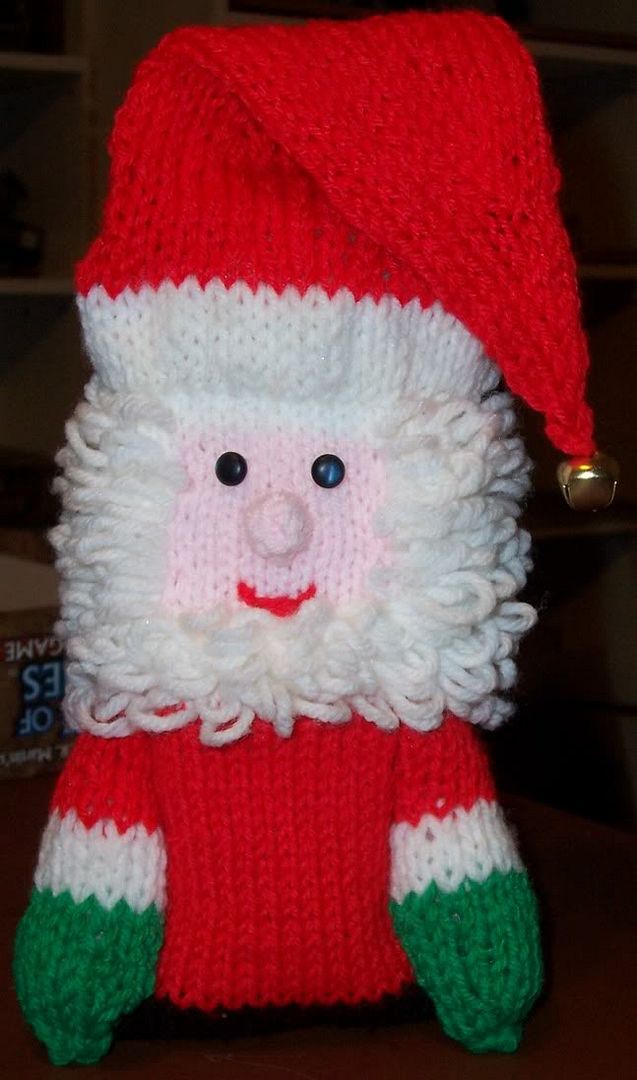
Knit Santa Claus
Knit Santa Claus
The usual disclaimer: This pattern is my original design, and is posted here for your personal use only. Please don't post this pattern to other sites, or distribute copies, or pass it off as your own creation. Feel free to post links to this pattern.
**If you like my blog and patterns, please vote for me on the Crochet and Hook list. Vote by clicking the blue box towards the top in the left margin of my blog. Thank you so much!! Let me know what you think of my patterns -- just click the email link (also in the left hand margin).**
I will be posting a crochet version of this pattern soon.
Supplies:
Red and White worsted weight yarn
Small amount green and pink worsted weight
1 jingle bell
2 button eyes
Size 7 knitting needles
Size 10 Double pointed needles
yarn needle for weaving in ends
Fiber fill stuffing
Head and Body:
Using white yarn, cast on 20 stitches
Work in stockinette stitch (alternate rows of knit and purl stitches) for 20 rows
Change to Red yarn, and work in stockinette for 20 rows
Change to Black. Work in stockinette for 10 rows
Change to Red. Work in stockinette for 20 rows
Face:
The face requires some easy intarsia color changes, with work continuing in stockinette throughout.
Measure off small amount of white yarn to complete one side of the face and wind onto a bobbin, if you choose. I just pulled from the skein for the pink and the other side of the face, rather than using bobbins for those.
Before starting color changes, change to white and work 6 rows of plain stockinette. On the 7th row, work 5 stitches in white and change to pink. Work 10 stitches in pink, and then change to white, working the last 5 stitches. Continue in this pattern for 11 more rows. Then working from the skein of white, work 2 more rows in plain stockinette. Bind Off.
Beard:
Loop stitch will be worked over the rows of white stockinette, forming santa's beard. To keep the loops uniform, pull the loop tight over your thumb before securing the loop. For loop stitch you bring your needle up at one side of a stockinette V and then put your needle through to the wrong side of the material at the other side of the V. Put your thumb into the loop formed as you pull the yarn through, and pull the yarn snug over your finger. When you pull your finger out there will be a loop left. Bring the yarn back up through the fabric in between the ridges of the same v stitch, and then back down to the wrong side of the fabric to secure the loop. If more details are needed, just message me and I'll take some photos to help illustrate the stitch.
After the beard and back of the head are done, with right sides facing, seam up the edges with the corresponding colors. Turn right side out.
Use fiber fill stuffing to lightly stuff santa's body.
Hat:
Then take double pointed needles and white yarn pick up 40 stitches along the top. Two needles will have 13 stitches and one will have 14. Work one decrease on this dpn on the first row to even out the needles. Work evenly in stockinette stitch for about 6 rows. Then switch to red. Work evenly in red for about 10 rows. Then decrease one stitch at the front of each dpn every other row until 2 stitches remain on each needle. Decrease to one stitch on each needle, sliding the stitches onto one dpn. Work 2 together twice, and pull yarn through to secure last stitch. Sew Jingle Bell to the point of the hat.
Nose:
Using pink, CO 3 stitches. Work in stockinette for 4 rows. Bind off, leaving a long tail. Using yarn needle, work yarn through edges of stitches and pull. Shape into a round nose, and using the rest of the long tail, secure to Santa's face.
Using red yarn, sew Santa's mouth.
Secure two button eyes to complete santa's face.
Arms: (make 2)
Using dpn's, cast on 15 stitches, with5 stitches on each of 3 needles. Work evenly in stockinette for six rows. Change to white. work evenly for four rows. Change to green work evenly for five rows. Decrease by K2tog at the beginning of each dpn twice. Situate remaining stitches on two of the dpn's and use kitchner stitch to secure.
Use fiber fill to stuff arms lightly, and secure to sides at hair line.
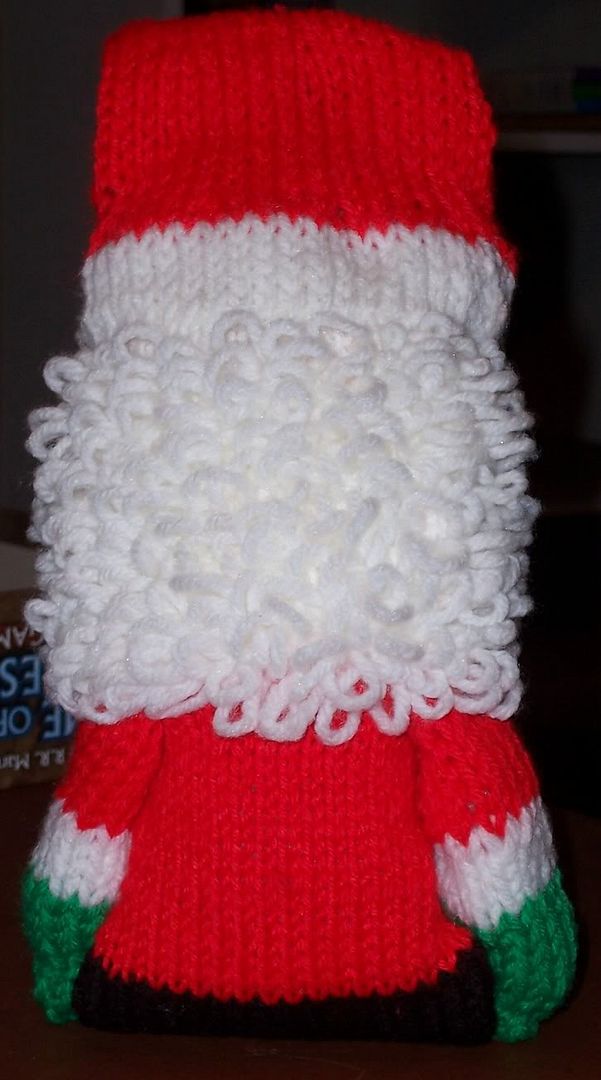
All done!! :) Here's a picture of the back:
posted by Juli @ 5:04 PM
![]()
<< Home